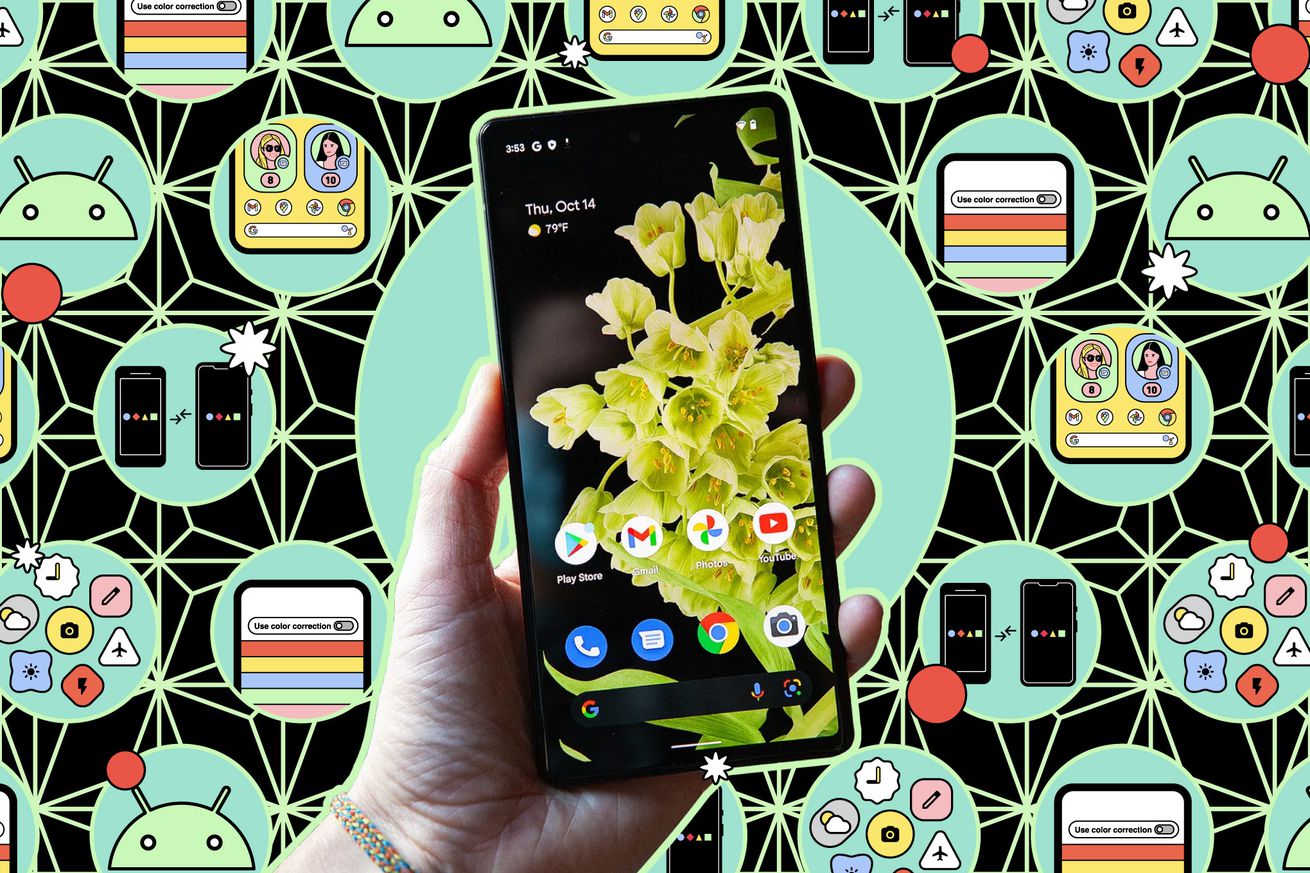

If you have an Android phone or tablet, your Google account is intrinsic to everything you do, from checking emails in Gmail to making payments with Google Wallet — which is why you’re prompted to log in to a Google account every time you set up a new Android device.
However, Android doesn’t limit you to one Google account per device. As with Windows and macOS, you can set up multiple logins and switch between them. This means, for example, that you’re able to share an Android tablet with your partner or jump between work and personal Google accounts on your phone.
Each different user on a phone or tablet gets their own customization settings (for wallpapers and homescreens), their own space for photos, documents, and other files, and their own apps. The first and primary user on a device retains some exclusive privileges — like the ability to add and remove other users — but secondary users are largely unrestricted in what they can do.
But what if you want somebody to temporarily access your phone — a young relative who wants to watch videos or play a game, perhaps? You can use a different, related feature called Guest mode. Guest mode allows general apps such as Chrome and YouTube to be used without an account; guests can sign in to their own accounts if they want to use more personalized apps such as Gmail or Google Photos. And as the main user of the device, you can set up guest profiles so that all of their related data is wiped as soon as they’re finished.
Note: these directions were all tested using a Pixel 6 Pro with Android 13. Directions may vary slightly depending on the phone manufacturer. Unfortunately, current versions of Samsung’s Android 13 One UI don’t include a multiple-user feature.
Setting up multiple users and guests
To set up multiple users and Guest mode on an Android phone, you first need to enable these features:
- From Settings, pick System > Multiple users.
- Turn on the Allow multiple users toggle switch. You’ll then see the options to add secondary users and to switch to Guest mode.
:format(webp)/cdn.vox-cdn.com/uploads/chorus_asset/file/24878686/Screenshot_20230828_104647.png)
:format(webp)/cdn.vox-cdn.com/uploads/chorus_asset/file/24878687/Screenshot_20230828_104705.png)
Adding another user
Once you’ve enabled multiple users, you can start adding and managing users and guests on that same System > Multiple users page.
- To add someone new, tap Add user and OK to confirm.
- Enter a name for the new user and set a profile picture for them, if you’ve got one.
- Tap OK. The next screen lets you enable or disable phone calls and SMS for the new user account, switch to it straight away, or delete it.
- If the other user is with you, tap Switch to [name] > Set up now to switch straight away. If not, you can go back to the account management screen and finish the setup later.
:format(webp)/cdn.vox-cdn.com/uploads/chorus_asset/file/24879475/second_03.jpg)
:format(webp)/cdn.vox-cdn.com/uploads/chorus_asset/file/24879476/second_04.jpg)
The setup screen starts with some explanatory info. After that, you get a Google account sign-in screen, the same as if you were setting up a new Android device. This step can be skipped, but you won’t be able to install any apps from the Google Play Store or use apps like Gmail, Google Calendar, or Google Contacts.
If you do sign in to an account, you then have to go through all the other steps associated with setting up an Android device: adding a phone number, agreeing to the Android terms and conditions of use, choosing whether to set up hands-free access to Google Assistant, setting up a PIN or biometric method to protect the lock screen from unauthorized access, etc.
With all of that done, the new user account is configured and ready to use. All the phone settings are back to their defaults, from the apps installed to the homescreen wallpaper and the ringtones used for incoming calls — it’s almost like having a brand-new device.
Again, the original owner of the device and the primary Google account does retain some privileges not available to other users, including the ability to reset the phone and remove other user accounts.
Switching users
Once multiple accounts have been set up, you can quickly switch between them:
- Drag down from the top of the screen to access Android’s Quick Menu.
- You’ll see the user account icon at the bottom of the screen. Tap it to get the Select user pop-up screen, which will let you switch accounts.
- If you’re the owner of the primary account on the phone, the same dialog box that lets you switch accounts also lets you switch to Guest mode and add new users.
- You can also access this dialog box on the lock screen with a single finger swipe from the top; however, the ability to add new users only appears if Add users from lock screen is enabled from the Multiple users screen.
There’s one key difference on Android tablets: as well as adding multiple users, you can also add a child as a user. This child must be already added in your Google Family Link settings, from which you can manage parental controls. Children can’t be added as secondary users on phones, but you can set up an Android phone with a child as the primary user, then put limitations in place through Family Link.
Switching to Guest mode
If you just want to lend your phone to someone temporarily:
- Open Settings and head to System > Multiple users.
- Under the option to add new users, you’ll see Guest. Note the Delete guest activity toggle switch here — it sets whether you’d like all guest data to be wiped when you switch back to a normal user account on the device. Tap Add guest.
- A Settings page will provide the option to switch to Guest mode, enable phone calls on the account, or remove the guest.
- Tap Switch to Guest to launch Guest mode. It appears instantly — there’s no need to sign in to a Google account or set up a PIN.
:format(webp)/cdn.vox-cdn.com/uploads/chorus_asset/file/24879493/guest_01.jpg)
:format(webp)/cdn.vox-cdn.com/uploads/chorus_asset/file/24879496/guest_02.jpg)
This speedier setup is one reason to choose Guest mode over an additional user account. The guest does have the option to sign in to a Google account if they want to use an app such as Gmail or download something from the Play Store, and once that’s done, there’s not any real difference between Guest mode and an additional account while someone is actually operating the phone.
That changes when you quit Guest mode, which again, can be done via System > Multiple users in Settings or by dragging down from the top of the screen and tapping on the user profile avatar. All of the guest data will be deleted, assuming that’s how you configured Guest mode earlier.
If the Delete guest activity toggle switch was off in the multiple user settings, then when you exit Guest mode, you’ll have the option to wipe any data and sign-ins that have been accumulated or to save them for next time. Choose to save them, and the Guest mode status is preserved as you switch between accounts until you manually reset it.